CHEOPSken
-
Posts
6 -
Joined
-
Last visited
-
Days Won
3
CHEOPSken's Achievements
")


-
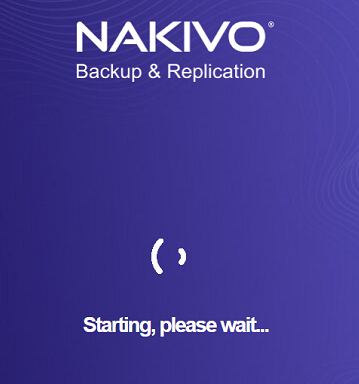
10.9 Nakivo "Starting, please wait", Java Hangup?
CHEOPSken replied to CHEOPSken's topic in Deployment
Hello again I spoke too soon. I restarted one final time and we are back to "Waiting" and 100% CPU Load: I created a support package for you guys to check out. For now the Quickfix will do: Restarting the services.
-
10.9 Nakivo "Starting, please wait", Java Hangup?
CHEOPSken replied to CHEOPSken's topic in Deployment
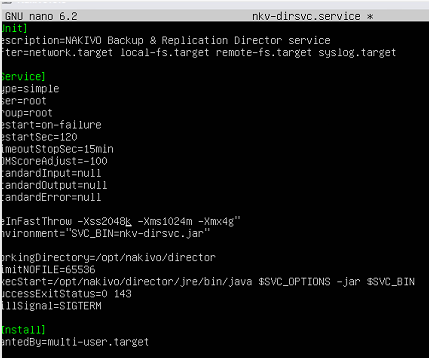
Hello again So I did double the heap size parameters twice. The first changed did not fix the problem but the second seems to have fixed it. I changed the manual IP back from .204 to .203 for testing and restarted the VM and I can now access the webUI. Final heap size: For Anyone reading this in the future. To change the heapsize. Go to the VM comsole in ESXI. 1. Manage NAKIVO services -> Start/Stop Services -> Stop both the Director and Transporter service for good measure 2. Go back to the Main Menu -> Exit to system console -> log in with your user (nkvuser in my case) 3. Sudo -i -> enter password again 4. Install nano for text editing : sudo apt -y install nano 5 type: cd / (to move to root folder) -> cd etc/systemd/system -> type: sudo nano nkv-dirsrvc.service 6. Edit the file. Move with the arrow key down to the line beginning with "Environment="SVC_OPTIONS....." and move to the right until you see the above heap size parameters. Edit the parameters. When finished press CRTL+X and then Y. Press Enter to finish. Reboot the VM, done. I hope this can help whoever in the future. Thanks for the help and have a great day.
-
10.9 Nakivo "Starting, please wait", Java Hangup?
CHEOPSken replied to CHEOPSken's topic in Deployment
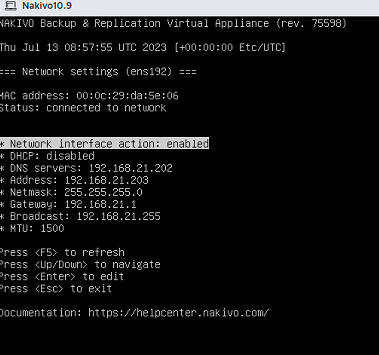
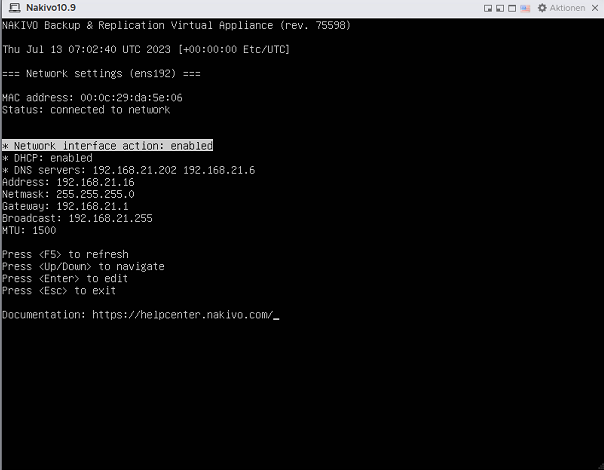
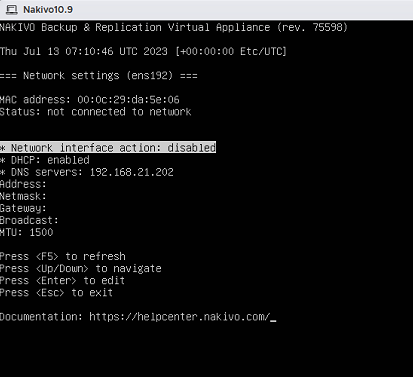
Hello again So this bug or whatever it is, is replicable. I can change the network config to manual just fine and I can connect to the webUI via the manual IP. If I restart however, I am greeted with "Starting, please wait". If I change the config back to DHCP and go to the webUI without restarting, I can access it. Restarting the VM does not show me the message either, so it seems to work with DHCP? I tried again and this time it wouldn't take my manual config. Only on the second try did it take it and I was able to connect without restarting. After restart, same issue as before: "Starting, please wait" and 100% CPU workload for Java. Quickfix: I went to "Manage NAKIVO Services" and restarted all the services. The workload of the CPU goes to 200% (okay?) and then to normal. I can then access it again. So there might be a service that gets hung up on something after changing the config and restarting? DHCP config: (It should be noted that the DNS 192.168.21.6 has been decomissioned just yesterday night, after I created this post) Manual config: The message: Failed manual config and second try:
-
10.9 Nakivo "Starting, please wait", Java Hangup?
CHEOPSken replied to CHEOPSken's topic in Deployment
Quick Info: I switched the Network config back to DHCP and now the WebUI started normal again. I´ll test again tommorow and let you know if I can replicate this. The manual IP I chose was not used elsewhere in case you are wondering. Cheers CHEOPSken -
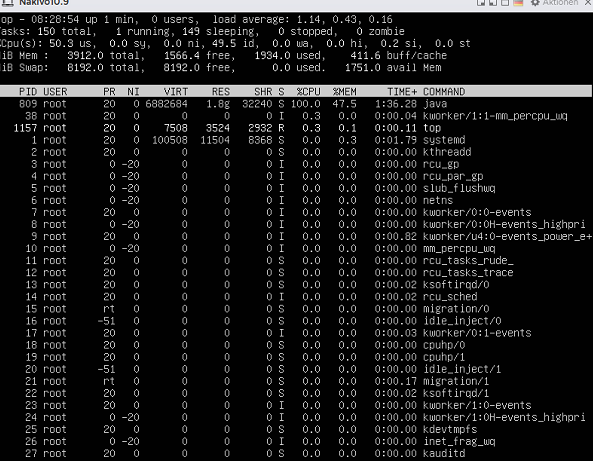
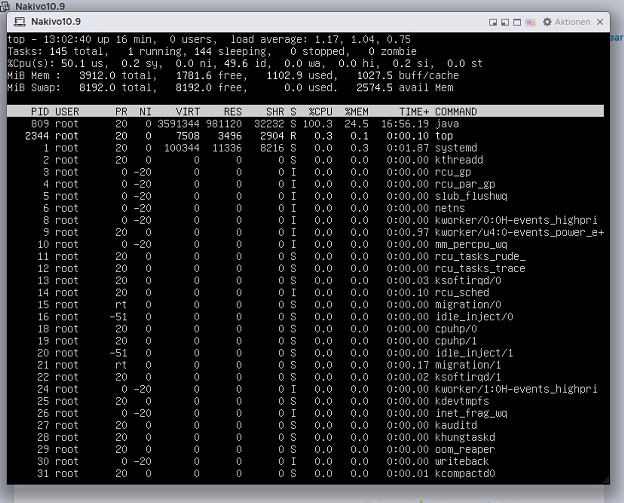
Hello everyone I seem to have an issue with Nakivo 10.9 where Nakivo is stuck with the message "Starting, please wait". I installed a new Nakivo VM on Esxi 8.0 U1 with 10.9 because it is the recommended Nakivo version for ESXI 8. Nakivo started fine first, I configured a Backup which ran without problem. Then I changed the IP in the VM network settings to manual and restarted the VM because it wasn't saving my input, or so it seemed. I then restarted the VM again and checked the network settings and they have the correct adresses etc. When I go to the WebUI however, I am greeted with the above message. Looking into system performance I notice that "java" is hogging all the %CPU: Is this a known issue? What could this be? Cheers CHEOPSken
-
CHEOPSken joined the community
-
Hello everyone. I had the same issue on a virtual applience. Boris solution worked for me as well. 1. Connect to the Transporter via SSH (for instance with Putty) 2. cd /opt/nakivo/transporter 3. ./bhsvc stop ./bhsvc -b "<UsePassword>" (creates a masterpassword) ./bhsvc start 4. Go to the Nakivo configuration > Transporter > edit > enter the masterpassword and connect > accept the certificate 5. Fixed and working again. Cheers